Hello, fellow gardeners! Todd Boland here, from GardenVio. Let’s talk about one of the most popular houseplants in the world: the beautiful and elegant Peace Lily. If you own one, you’ve probably seen its dramatic side. One moment it’s standing tall and proud, and the next it’s drooping over like it’s the end of the world!
This dramatic display is actually one of the things that makes the Peace Lily (Spathiphyllum) such a great plant for beginners. It’s a fantastic communicator! It tells you exactly what it needs, and once you learn its language, caring for it becomes incredibly simple and rewarding.
But I know it can be frustrating when you’re not sure what it’s trying to say. Are the leaves yellow because you’re watering too much, or not enough? Why won’t it give you those beautiful white flowers? Over my two decades of working with plants, I’ve answered these questions hundreds of times. In this guide, I’m going to share everything I’ve learned from my own experience to help you grow a happy, healthy, and thriving Peace Lily. Let’s get started!
First, Let’s Understand Your Peace Lily
Before we dive into the “how-to,” it helps to know a little about your plant. The Peace Lily is a tropical plant from the rainforests of the Americas. Knowing this one fact gives us most of the clues we need for its care.
Think about a rainforest floor: it’s warm, it’s humid, and the light is filtered through the leaves of taller trees. It’s not sitting in direct, blazing sun, and its soil is consistently moist but not a swampy bog. If we can try to copy this environment in our homes, our Peace Lily will be incredibly happy.
The best part is, you don’t need any fancy equipment to do this. Your Peace Lily isn’t looking for perfection; it’s just looking for a little understanding.
The Most Important Rule: How to Water a Peace Lily Correctly

If there is one secret to keeping a Peace Lily happy, it’s getting the watering right. More of these plants suffer from too much love (overwatering) than from neglect.
When you overwater a Peace Lily, its roots can’t breathe. They sit in soggy soil and begin to rot. This is called “root rot,” and it’s the number one killer of many houseplants. The tricky part is that a plant with root rot often looks droopy, just like a thirsty plant, which can trick you into watering it even more!
So, how do you get it right? Forget a strict schedule like “water every Saturday.” Instead, let the plant and the soil tell you when it’s time. The best method is to feel the soil. Stick your finger about an inch or two deep into the pot. Is it dry? Then it’s time to water. Is it still damp? Wait another day or two and check again.
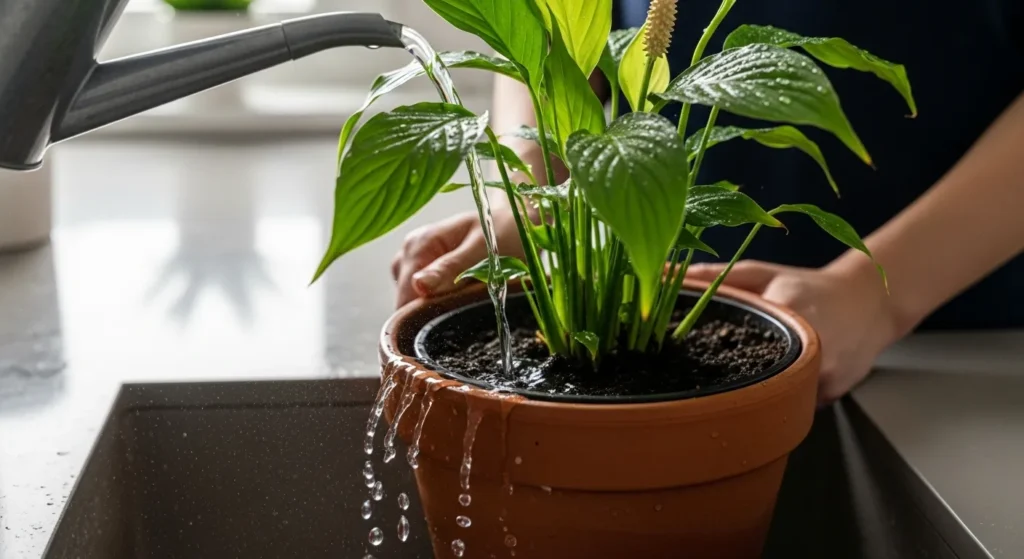
When you do water, do it thoroughly. Take the plant to a sink and give it a good drink until water runs freely out of the drainage holes at the bottom of the pot. This ensures all the roots get access to moisture. After it’s done draining, put it back in its spot. This is often called the “drench and dry” method, and it works wonders.
My Personal Tip: For beginners, I always suggest waiting for the slightest droop. Your Peace Lily is famous for its dramatic fainting act when it gets thirsty. If you check on it daily, you’ll notice the leaves just starting to lose their perkiness. This is the perfect time to water. It’s the plant’s clear signal that it’s ready for a drink, and it helps you avoid the much bigger problem of overwatering.
Also Read: Is Your Home Plant Collection Putting Your Cat at Risk? Find Out Now!
Finding the Perfect Spot: Peace Lily Light Requirements
Many people hear that Peace Lilies are “low-light” plants, and they stick them in a dark corner of a room. While they can survive in low light, they certainly won’t thrive. A Peace Lily living in a dark spot will likely never give you those beautiful white spathes (the “flowers”).
To keep your plant healthy and encourage it to bloom, you should aim for bright, indirect light. What does that actually mean in a normal house?
It means a spot where the plant gets a lot of light, but the sun’s rays aren’t hitting the leaves directly. Think of a spot near an east-facing window, where it gets some gentle morning sun. Or, place it a few feet back from a south- or west-facing window, so it’s out of the direct, harsh afternoon sunbeams.
You’ll know if the light is wrong. If the leaves get yellow and have scorched-looking brown spots, it’s getting too much direct sun. If the plant looks weak, “leggy” (long stems), and never flowers, it probably needs a bit more light.
The Right Foundation: Soil and Potting for Your Peace Lily
Peace Lilies aren’t too fussy about their soil, but they do have one important requirement: it must drain well. Remember, they don’t like to have “wet feet,” which leads to root rot.
When you’re choosing a soil, look for any standard, high-quality houseplant potting mix. To make it even better, I like to mix in a handful of perlite or orchid bark. These materials help create little air pockets in the soil, which improves drainage and keeps the roots happy and healthy.
You’ll only need to repot your Peace Lily every year or two, or when you see roots coming out of the bottom of the pot. When you do repot, choose a new pot that is only about 1-2 inches wider in diameter than the old one. A pot that’s too big can hold too much water and increase the risk of overwatering. And, of course, always make sure your pot has drainage holes! This is non-negotiable for a healthy Peace Lily.
Creating a Happy Home: Temperature and Humidity
Remember your Peace Lily’s tropical rainforest origins? This tells us it enjoys warmth and humidity. The good news is that they are perfectly happy in the same temperatures we are. If you’re comfortable, your Peace Lily is probably comfortable too. Just try to keep it away from cold drafts from windows or doors in the winter.
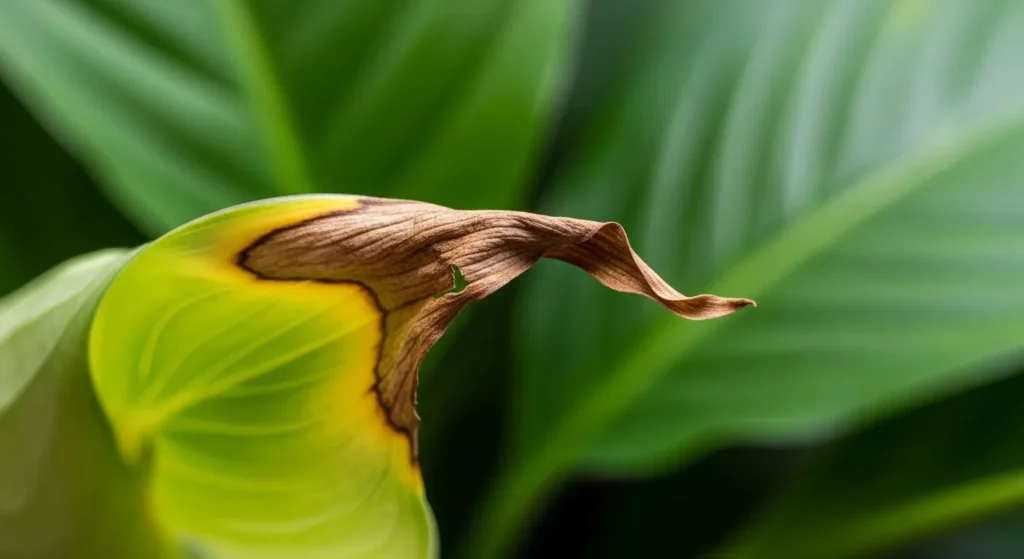
Where they can sometimes struggle, especially in homes with dry air from heating or air conditioning, is with humidity. If you notice the tips of the leaves turning brown and crispy, it’s often a sign that the air is too dry.
Here are a few simple, everyday ways to give your plant the humidity it loves:
- Misting: Gently mist the leaves with a spray bottle a few times a week. It’s a quick and easy boost.
- Pebble Tray: Place the pot on a tray filled with pebbles and a little water. As the water evaporates, it will increase the humidity right around the plant. Just make sure the bottom of the pot isn’t sitting in the water.
- Grouping Plants: Plants naturally release moisture through their leaves, a process called transpiration. Grouping your Peace Lily with other houseplants can create a small, humid micro-environment that benefits all of them.
- Bathroom or Kitchen: These rooms are often naturally more humid, making them great locations for a Peace Lily, as long as they get enough light.
How to Get Your Peace Lily to Flower (and Keep Flowering!)
That beautiful white “flower” (which is actually a modified leaf called a spathe) is what makes the Peace Lily so iconic. If your plant isn’t blooming, it’s almost always due to one of two things: not enough light, or not enough food.
We’ve already covered light – moving your plant to a spot with brighter, indirect light is the number one thing to try if you’re not getting flowers.
The second thing is fertilizer. To produce flowers, the plant needs energy. During the spring and summer, which is its main growing season, I recommend feeding your Peace Lily with a balanced liquid houseplant fertilizer every 6-8 weeks. A fertilizer with numbers like 20-20-20 is great. Just be sure to dilute it to half-strength. Over-fertilizing can do more harm than good. In the fall and winter, you can stop feeding it as its growth naturally slows down.
Once a flower has done its thing and starts to turn green or brown, it’s best to cut the flower stalk all the way down at the base of the plant. This encourages the plant to put its energy into growing new leaves and, eventually, new flowers.
Solving Common Peace Lily Problems (A Troubleshooting Guide)
Your Peace Lily is a great talker, but sometimes its signals can be confusing. Here’s a quick guide to what it might be trying to tell you.

“Why are my Peace Lily’s leaves yellow?” This is most often a sign of overwatering. Check the soil. If it’s soggy, let it dry out more between waterings. Yellow leaves can also be a sign of underwatering, but that’s less common. It can also just be an old leaf dying off, which is perfectly normal. If it’s just one or two lower leaves turning yellow, you probably don’t need to worry.
“Why do the tips of the leaves have brown, crispy edges?” This is usually a sign of low humidity or a reaction to chemicals in your tap water, like chlorine or fluoride. Try the humidity tips we talked about earlier. You can also try letting your tap water sit out overnight before using it, which allows some of the chlorine to evaporate. Using filtered or distilled water can also solve this problem.
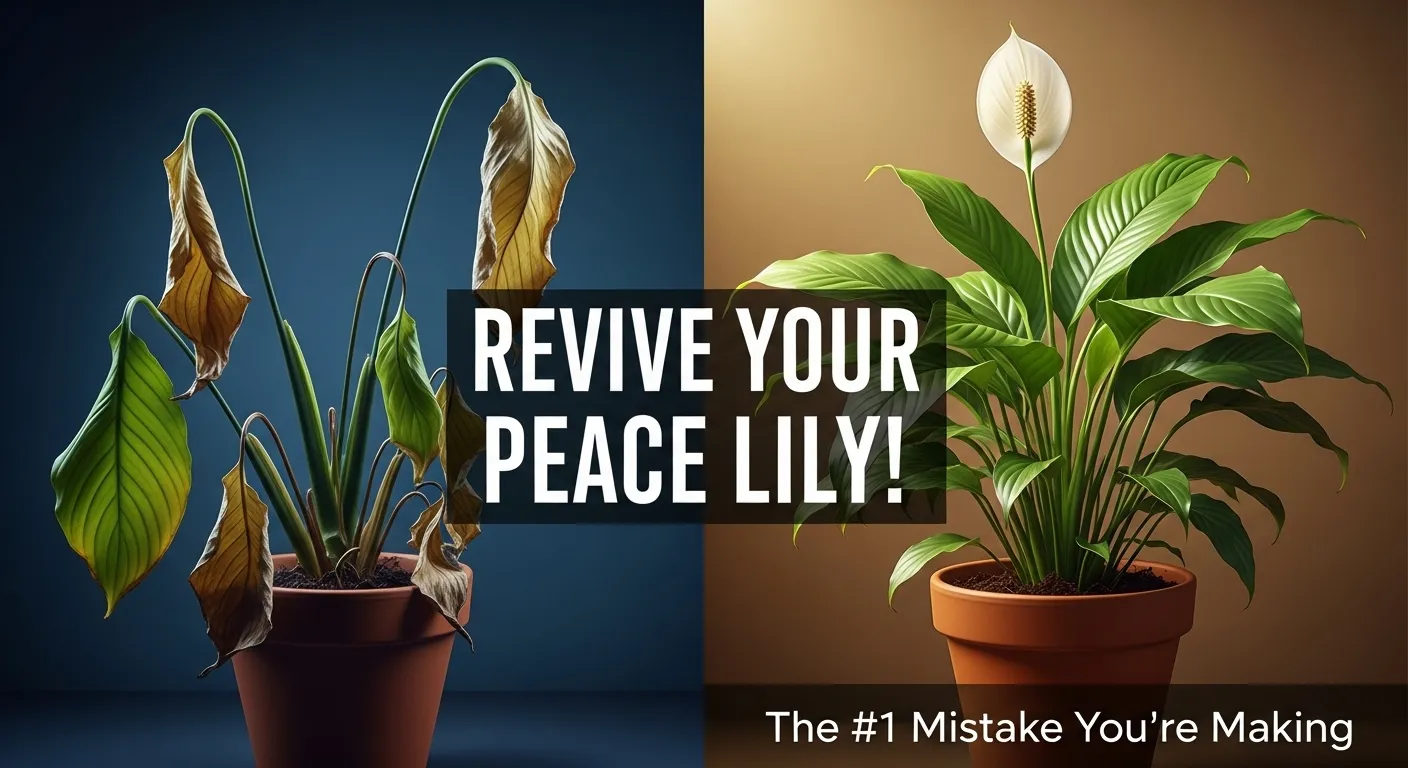
“Help! My plant is completely drooped over!” Nine times out of ten, this just means it’s very thirsty! Feel the soil; if it’s dry, give it a thorough watering, and it should perk back up within a few hours. It’s amazing to watch! However, if the soil is soaking wet and the plant is still droopy, this could be a sign of advanced root rot, in which case you may need to check the roots.
“Are those little bugs on my plant?” Peace Lilies are pretty pest-resistant, but they can sometimes get common houseplant pests like spider mites or mealybugs. The best defense is to regularly wipe down the leaves with a damp cloth. This keeps them clean, helps them breathe, and will remove most pests before they become a problem. For a more detailed guide on pests, you can check out resources from university extension programs [Link to a reputable university extension page on houseplant pests].
A Quick Summary: Your Peace Lily Care Checklist
Feeling like that was a lot of information? No problem! Here are the most important points in a simple checklist:
- Light: Provide bright, indirect light. No direct sunbeams!
- Water: Water thoroughly only when the top inch or two of soil is dry. When in doubt, wait for a slight droop.
- Soil: Use a standard, well-draining potting mix.
- Humidity: It loves humidity! Mist it, use a pebble tray, or place it in a more humid room.
- Fertilizer: Feed with a balanced, half-strength fertilizer every 6-8 weeks during spring and summer only.
- Pot: Always use a pot with drainage holes!
You’ve Got This!
Caring for a Peace Lily is a truly rewarding experience. It’s a plant that actively communicates with you, and once you learn its simple language, you’ll be rewarded with beautiful green foliage and elegant white flowers for years to come.
Don’t be afraid to experiment a little to find the perfect spot in your home. Every environment is slightly different. The most important thing is to watch your plant and enjoy the process. You are now equipped with all the knowledge you need to be a fantastic Peace Lily parent!
What’s the biggest challenge you’ve had with your Peace Lily? Share your experience in the comments below!
